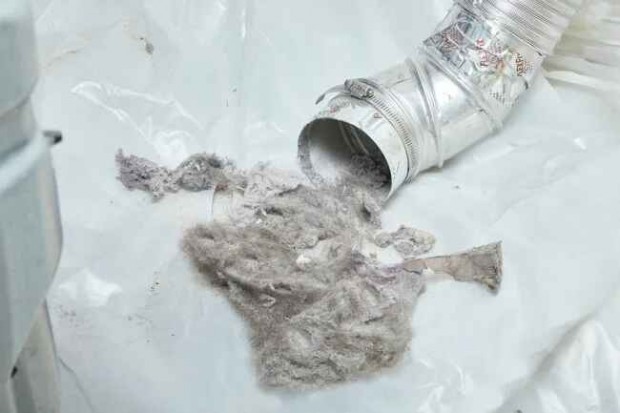
A filthy drying vent may not perform as effectively as it could. But how would you go about cleaning this tool mounted to your house's walls? Explore these simple steps to clean the dryer vent in your home like a pro!

(Photo : Bob Vila/Tom Fenenga )
Step 1: Cut power to the appliance.
Turning off the power to the clothes dryer is the first and most critical step. While the device draws electricity, you should refrain from working on the vent to ensure your safety. Unplugging the device is the simplest and safest method for cutting the power supply. Consider the possibility that this may necessitate repositioning the drier. Take care not to overwork yourself. Obtain assistance from another individual if the machine is too heavy to move independently. Additionally, turn off the gas line valve if your dryer is powered by gas.
Step 2: Locate the vent and disconnect the hose.
In most cases, the dryer should be removed from the wall where the vent pipe will let it go. This is often between one and two feet. The debris can be collected by placing a drop cloth on the floor.
Moreover, the clamp that secures the exhaust hose to the dryer must be loosened with a screwdriver. There is a possibility that you will need to detach the hose that is located at the back of the dryer, depending on the configuration of your dryer vent. Depending on the specifics of your situation, you may also need to remove the hose from the wall and position it on the ground.
Step 3: Vacuum the Vent
Connect an extension cord to your vacuum to extract dust that evades the brush. The vacuum should be inserted into the vent, and any lint or dust left behind should be removed. In addition, the lint should be extracted from the dryer's duct and the dryer itself using a vacuum cleaner. Clean the external vent that is located outside of your house by vacuuming it. Ensure that the vent's external cover is entirely replaced.
Also Read: Unveiling the Hottest Trends Reshaping the Construction Industry in 2024
Step 4: Brush Out the Dryer Vent
When the dryer vent is too lengthy for a vacuum hose to reach the opposite end, a dryer duct cleaning kit containing a flexible vent cleaning brush and multiple extensions is available. For powered cleaning, you can utilize the attachment brush if you know how to operate a drill, although this will depend on the product.
Incorporate the vent cleansing brush into the dryer vent initially. If you need to reach the end of the vent, you can add brush extensions as required. When necessary, you can clean the vent's interior by attaching the brush to a drill and using the rotation of the drill to clean the vent. Gradually extract the brush from the vent while the drill rotates it.
Step 5: Reconnect Everything
Reconnect the vent pipe to your dryer and ensure it is securely fastened once everything has been cleaned. Make sure that your dryer is plugged back in.
Step 6: Test Your Dryer
Assure that everything is functioning correctly and that the residue has been effectively eliminated by operating the dryer on the air-dry setting for a few minutes.
Related Article: 5 Eco-Friendly Building Equipment That You Should Know


